Automatically Save Files from Gmail to Google Drive
Keep your files organized.

Gmail makes it really easy to save attached files from your email to Google Drive. Just click on the "Add to Drive" button. Easy peasy.
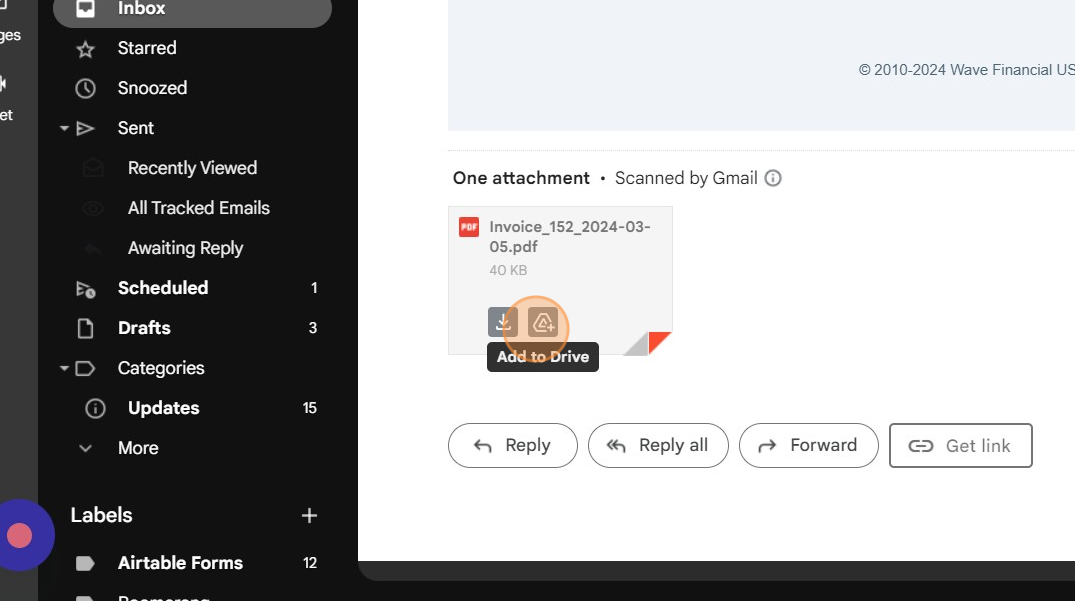
The problem? Remembering to save files to your GDrive.
I run a solo business. I need copies of things like contracts and invoices in my GDrive, for my records. If I rely on manually saving them, I risk forgetting or making a mistake.
So I have an automation set up to automatically save PDFs to my GDrive for me.
Step 1: Create a Gmail filter
First, I have Gmail apply a label based on a filter.
To create a filter, click on the Filter icon in your Gmail search. You can also go into your settings and click on "Filters and Blocked Addresses."
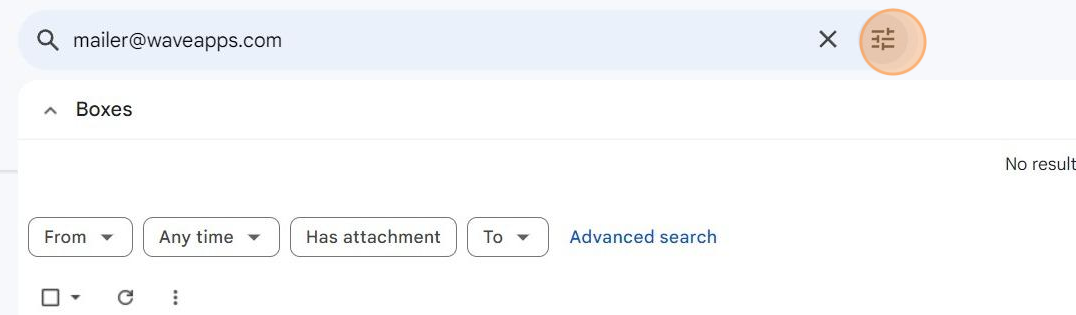
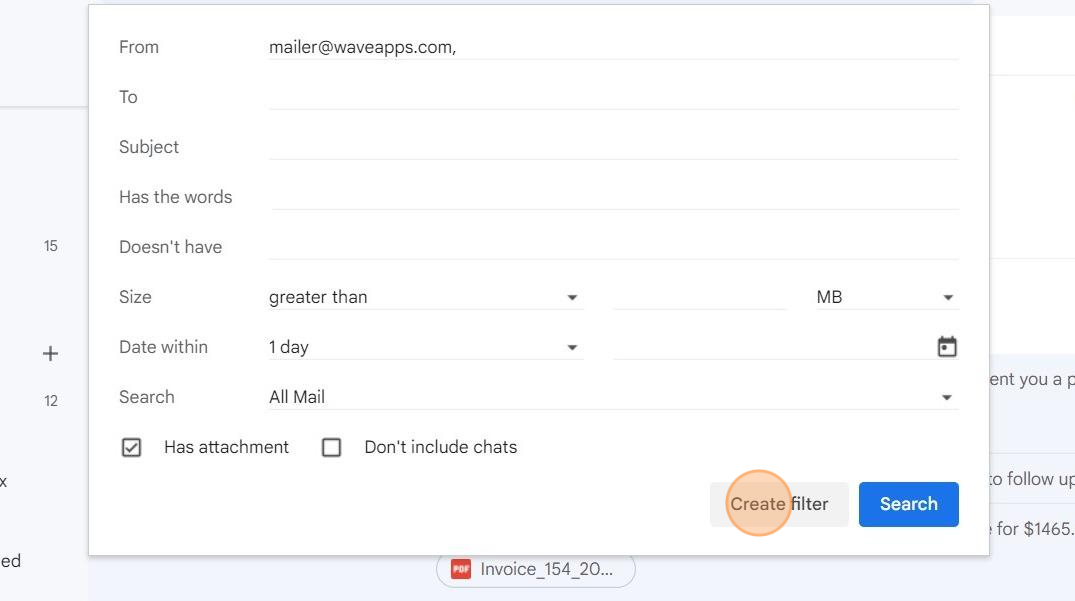
My filter is based on the sender. I send invoices from my accounting software and contracts from my e-signature platform.
In the filter, I use the check box "Has attachment." Then click on Create Filter.
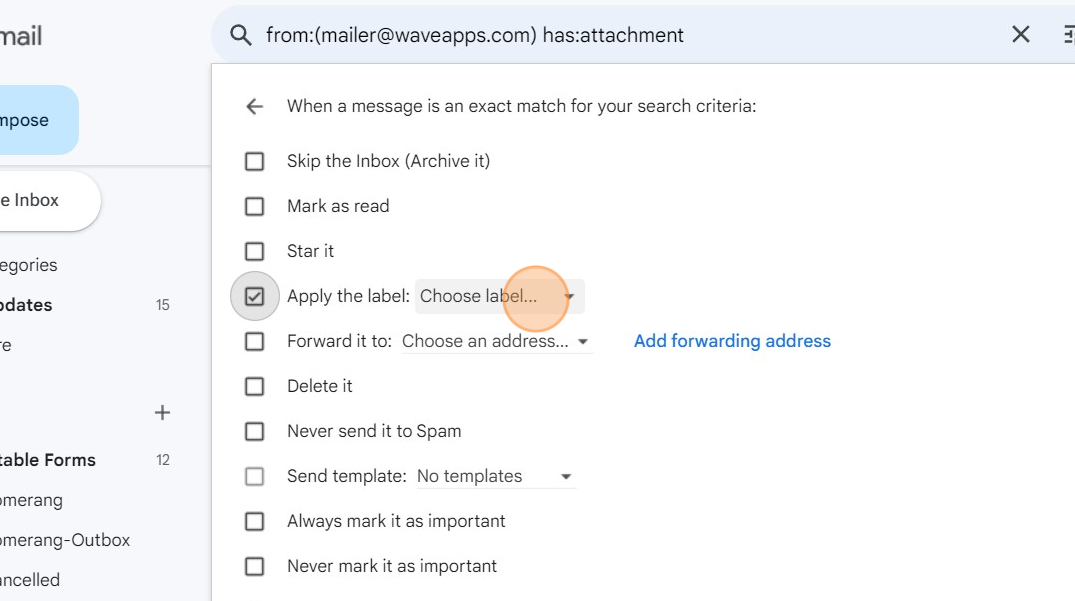
On the next screen, select "Apply the label." I have different labels set up for different filters. In this case, I have a label set up called Invoices. Anything coming from my accounting software will have this label applied.
Step 2: Add a folder in your GDrive
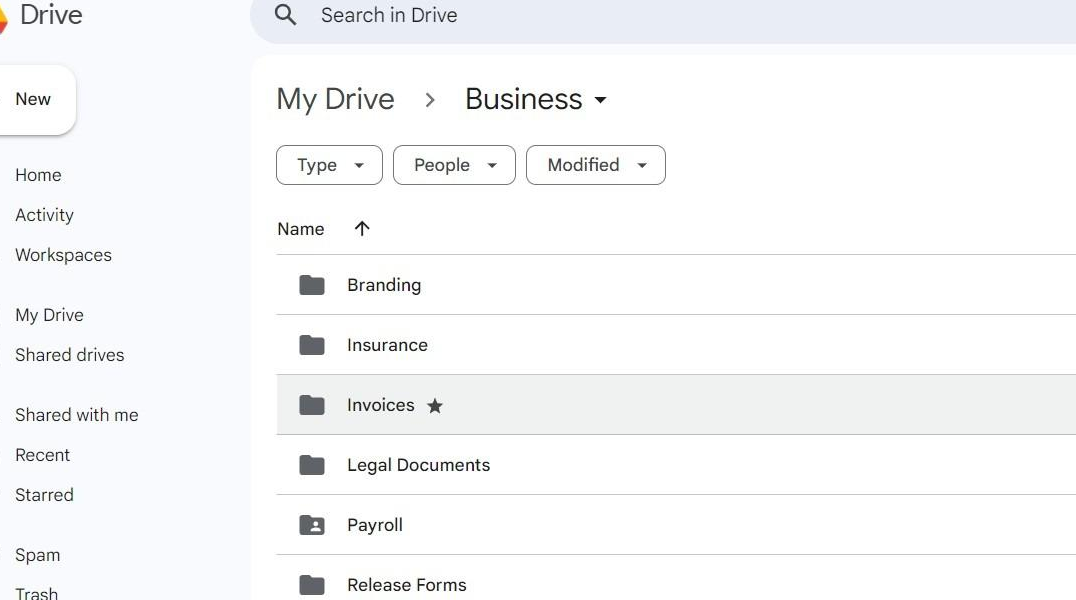
The attached files have to be saved somewhere. I have a folder in my GDrive set up for "Invoices." I have another one set up for "Contracts."
Note: I want contracts saved to a specific client's folder. But at the time the contract is signed, the folder doesn't exist yet. I create the folder after I have a signature. (See this tutorial for setting up client folders.)
So all contracts are saved to a generic Contracts folder and I move them later. But I'd rather do this than risk having them not saved from my GDrive at all.
Step 3: Create an automation in Zapier based on a new attachment in Gmail
Next, you'll set up a simple automation in Zapier [affiliate link].
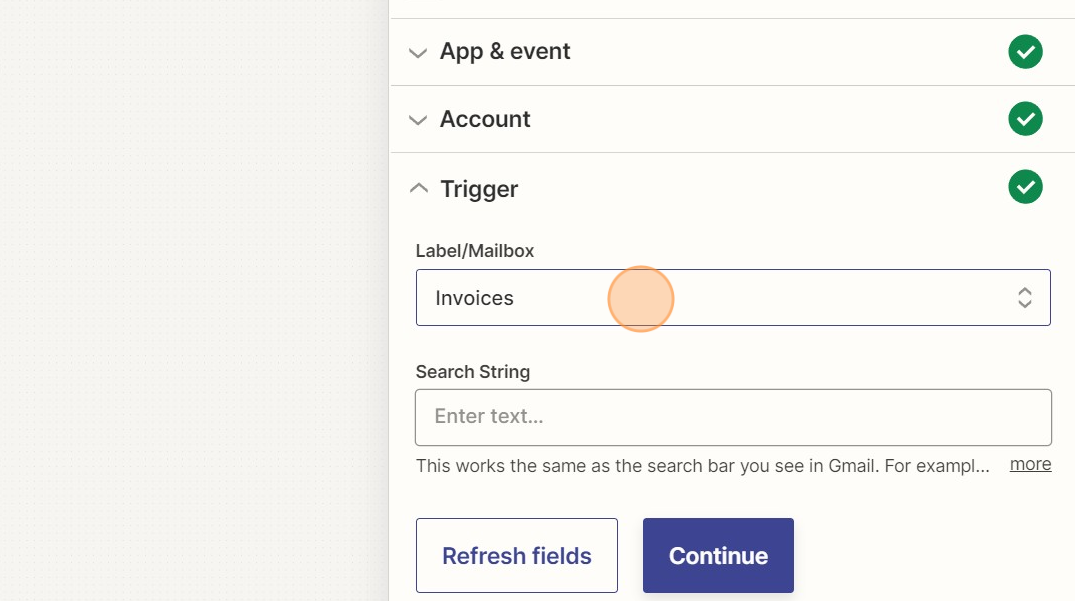
Your app will be Gmail and your trigger step will be New Attachment in Gmail.
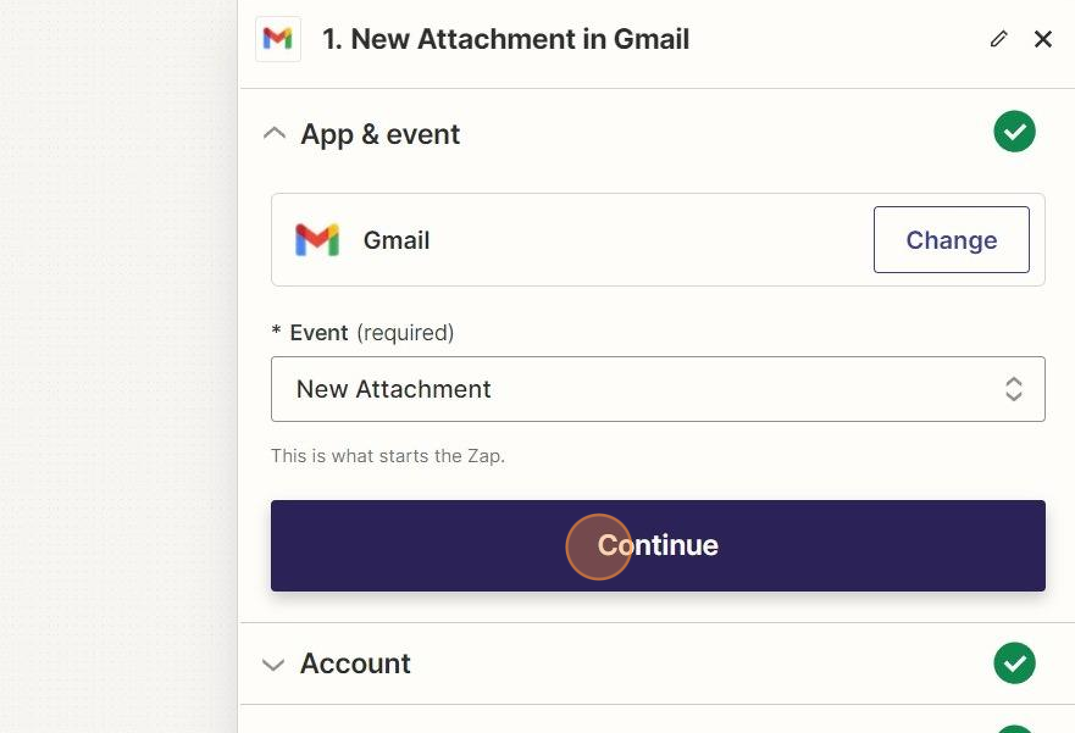
You'll apply this trigger to the specific Label you've set up (in this case, Invoices).
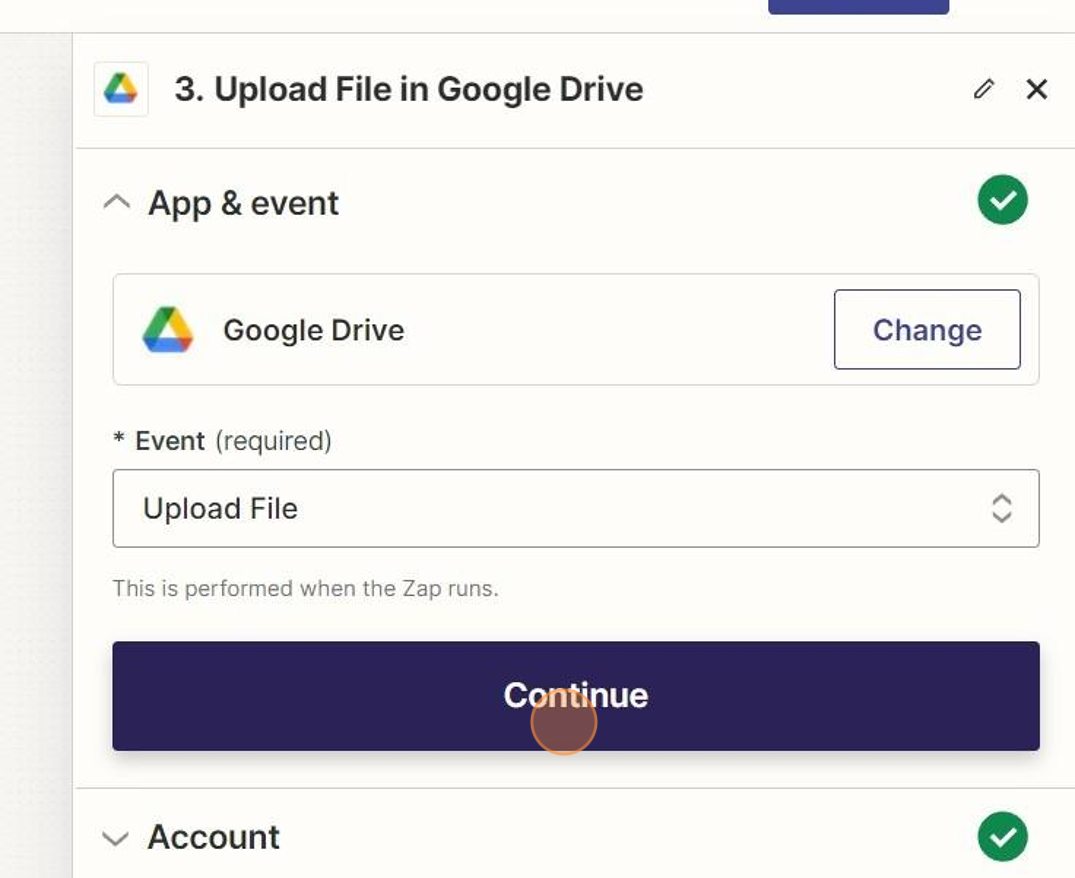
Step 4: Automatically add the file to Google Drive
Your Action app is Google Drive and the Event is to Upload File.
In this step, I am saving my PDF to my Invoices folder.
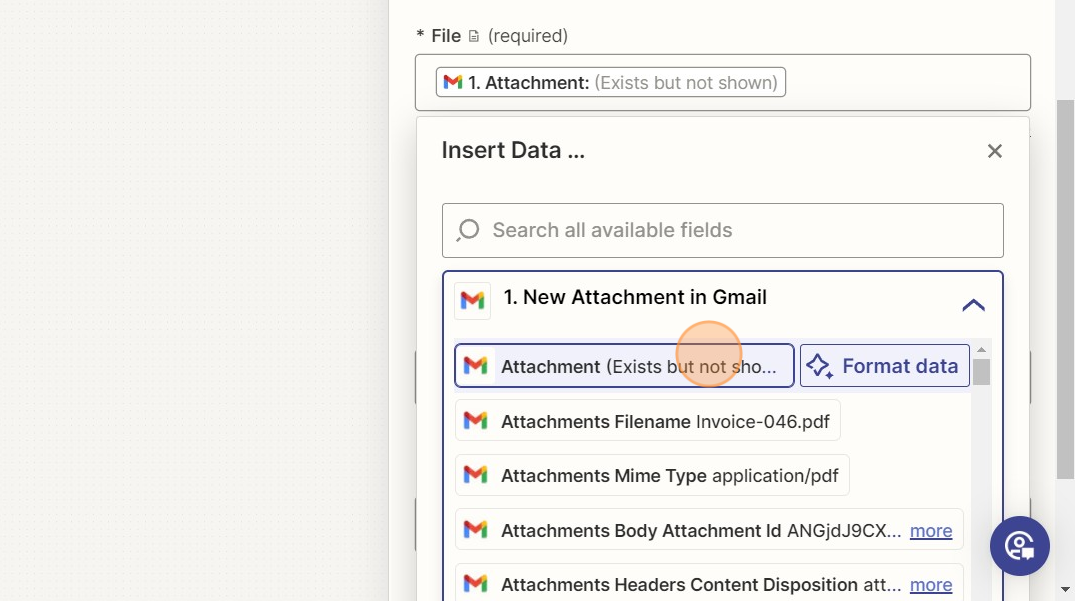
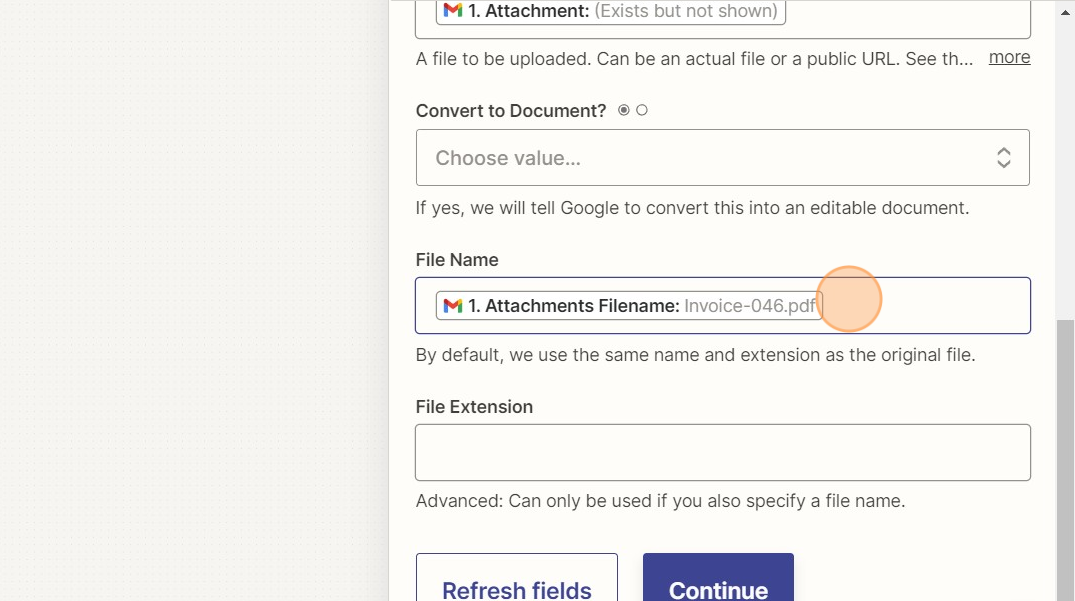
The file being saved is Attachment
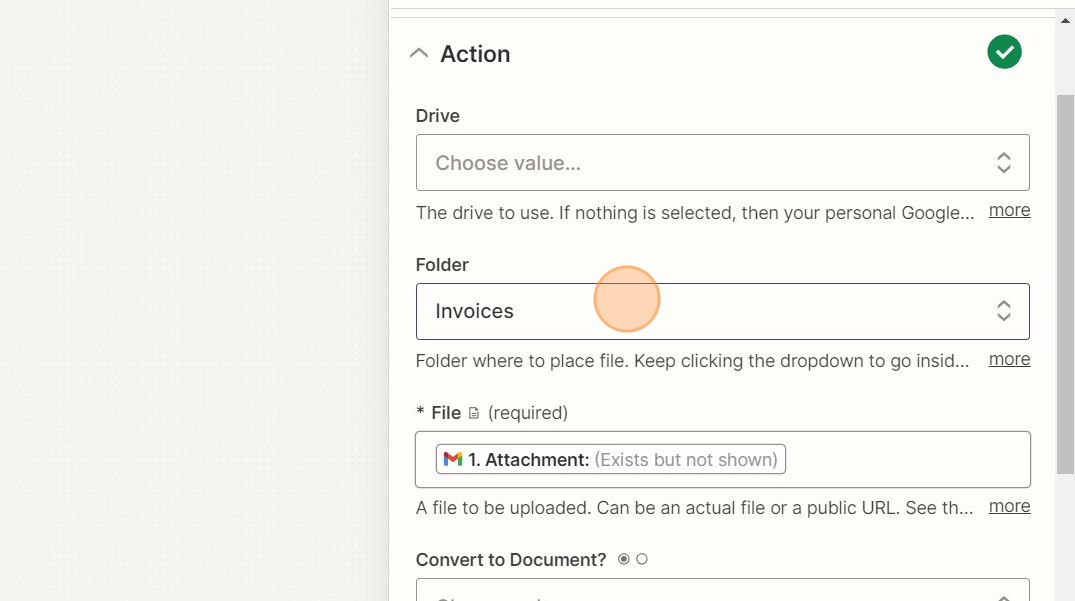
The File being saved is the attachment from your first step. You'll see a description "(Exists but not shown)."
You'll give your file a name. I use the attachment name, but you could append it with text, such as "NEW INVOICE – {File Name}."
That's it! Turn on your Zap and you're ready to go.
A few notes:
Some clients require that I email them and attach a PDF of my invoice, rather than sending it from my accounting software. This Zap still works: I just need to manually add the Label "Invoices" when I send the email and the Zap will still trigger based on that Label.
I have a second Zap that triggers after this one. Once a file is added to my Invoices folder in my Google Drive, I add a copy of that file to Airtable along with the URL. Airtable is where I track all invoices to be sent. I then match the Invoice with the deliverable(s). This ensures that nothing is overlooked.
But that's a tutorial for another day...
More resources:
- Use this template from Zapier to get started with this workflow. Additional Filter steps can control what gets saved to your GDrive, if needed.
- I talk about how I keep track of deliverables in Airtable here.
- Want more ideas delivered directly to your inbox? Check out my newsletter.
I created the screenshots in this tutorial using Scribe – it's one of my new favorite tools. You can check out Scribe here [affiliate link].